Pattern diagramAbout this image
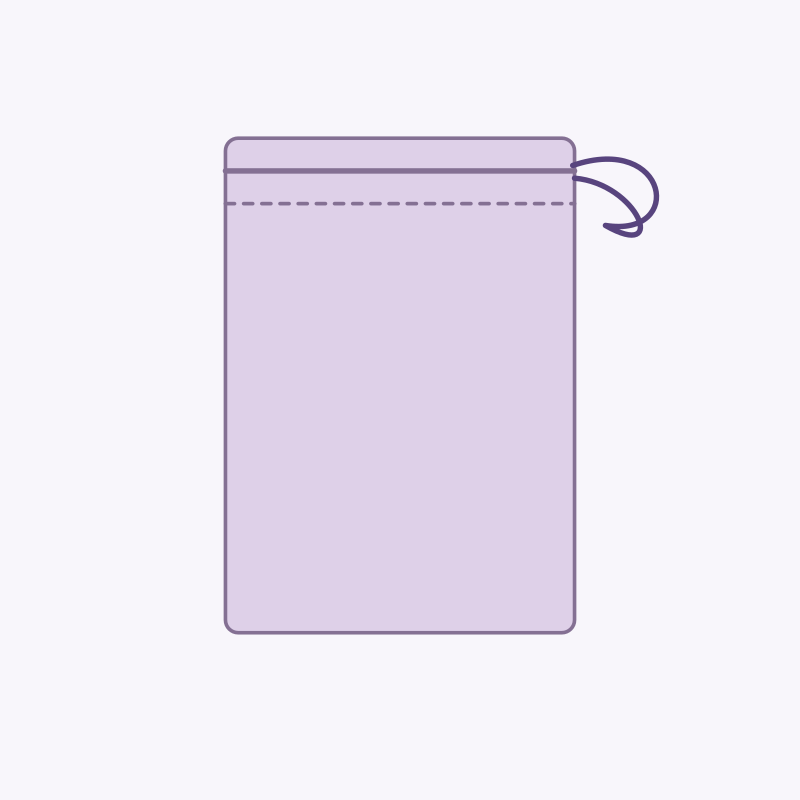
Diagram drawn from this project’s written instructions. Use the instructions for measurements and construction. This is not a finished-project photograph.Hand sewing
The little treasure bag
A hand-sewn cotton pouch for small tools, keepsakes, or a carefully chosen gift.
Before you begin
Materials
- Two cotton rectangles, each 14 × 20 cm
- 50 cm (20 in) narrow cotton cord
- Sewing needle and matching thread
- Pins, safety pin, scissors, ruler, iron
Quick reference
Abbreviations
- Seam allowance
- The distance between the cut fabric edge and the seam; use 1 cm in this project.
- Backstitch
- A strong hand seam made by bringing the needle up ahead, then going back to the end of the previous stitch.
One step at a time
Step-by-step instructions
- 1
Prepare both rectangles
Press the fabric. On each long side, turn 1 cm to the wrong side for just the uppermost 4 cm. Secure those short folds with small running stitches. These finished edges will form the drawstring openings.
- 2
Make the casings
On each rectangle, turn the top edge down 1 cm, then another 2 cm. Press. Sew close to the lower folded edge, leaving the sides open. Each rectangle now has a 2 cm-deep casing.
- 3
Pin right sides together
Place the rectangles with their printed or right sides facing each other. Align the bottom and side edges. Mark a point 1 cm below the bottom of each casing on both sides.
- 4
Sew the bag
Starting at one marked point, backstitch down the side, across the bottom, and up the other side to its marked point, using 1 cm seam allowances and 2–3 mm stitches. Keep the casings and their openings free.
- 5
Finish and turn
Overcast the raw seam edges to reduce fraying. Trim a small triangle from each lower corner without cutting the stitching. Turn right side out and press gently.
- 6
Thread the cord
Attach a safety pin to one end of the cord. Feed it through the front casing, then through the back casing, so both ends emerge on the same side. Knot the ends together. Pull to close. This bag is for small belongings, not infant or child use.
Original starter instructions. Sizes and making times are approximate; check your tension and measurements as you go.
Maker notes
Your shelf
Sign in to save projects across devices and share your making.
Finished projects
No makers have shared a finished version yet.
Questions and notes
No comments yet. You can be the first to share a useful note.