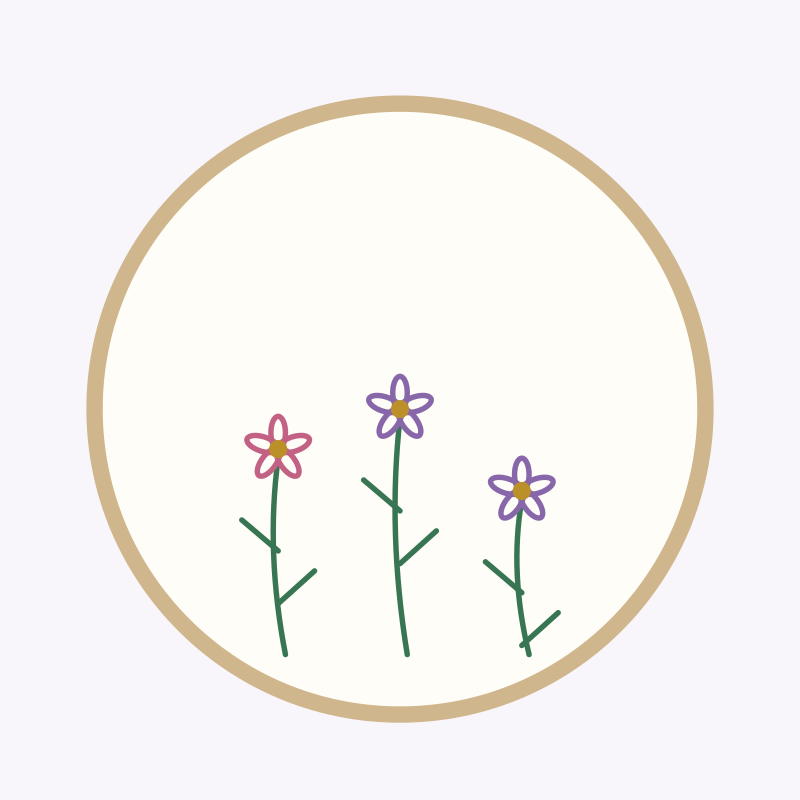
Pattern diagramAbout this image
Diagram drawn from this project’s written instructions. Use the instructions for measurements and construction. This is not a finished-project photograph.Embroidery
Meadow flowers
A small wildflower arrangement in lazy daisy petals, backstitched stems, and French knots.
Before you begin
Materials
- 25 × 25 cm (10 × 10 in) cotton fabric
- 15 cm (6 in) hoop
- Floss in green, lilac, rose, and mustard
- Embroidery needle, scissors, washable pen
Quick reference
Abbreviations
- Lazy daisy
- A detached chain stitch held at its tip by a tiny straight stitch.
- French knot
- A small raised knot made by wrapping the thread around the needle before taking it back through the fabric.
One step at a time
Step-by-step instructions
- 1
Mark three flowers
Place a dot at the fabric center, a second 3 cm left and 1 cm lower, and a third 3 cm right and 2 cm lower. Draw a 4–6 cm stem below each dot. Mark five evenly spaced 8 mm petals around each center.
- 2
Hoop and thread
Secure the fabric in the hoop. Cut 45 cm (18 in) lengths of floss and use two strands at a time. Anchor each new thread with a small knot on the back.
- 3
Stitch the stems
Backstitch each stem in green with 2–3 mm stitches. Add two or three 8 mm straight-stitch leaves along each stem.
- 4
Make lazy daisy petals
Bring lilac thread up at a flower center. Take the needle down beside that hole and up at a petal tip, leaving a loop. Keep the working thread under the needle, pull gently, then make a tiny stitch over the loop at the tip. Repeat for five petals. Use rose for another flower.
- 5
Add flower centers
Bring mustard thread up at a center. Wrap the needle twice while holding the thread taut. Insert it beside, not inside, the starting hole. Keep gentle tension as you pull through. Make one to three knots per center.
- 6
Finish the hoop
Weave thread ends under the backs of nearby stitches. Remove marks following the pen instructions. Dry flat, rehoop, trim the excess, and gather the back with running stitches.
Original starter instructions. Sizes and making times are approximate; check your tension and measurements as you go.
Maker notes
Your shelf
Sign in to save projects across devices and share your making.
Finished projects
No makers have shared a finished version yet.
Questions and notes
No comments yet. You can be the first to share a useful note.