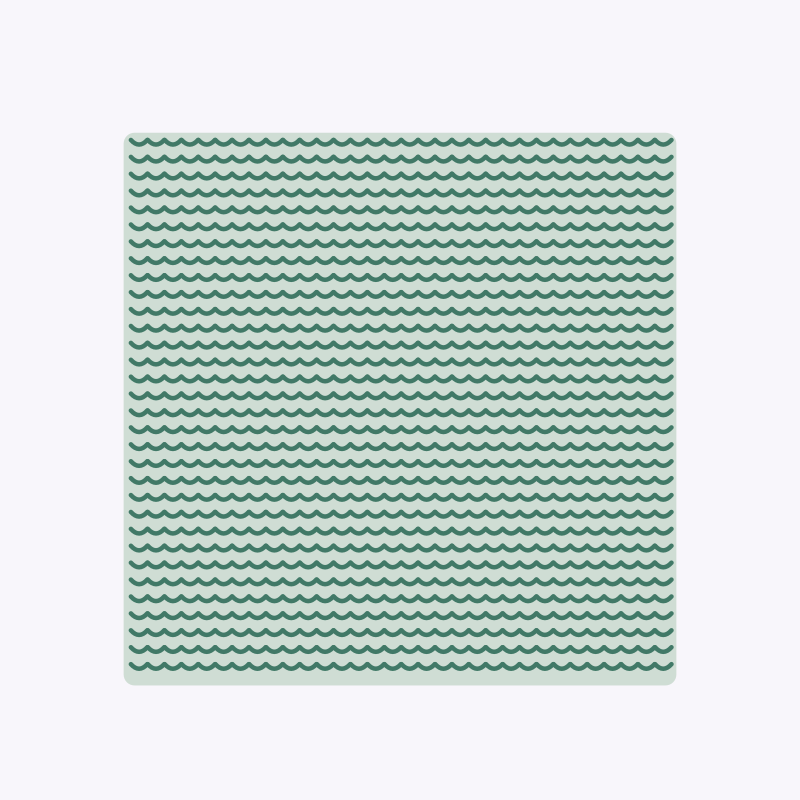
Pattern diagramAbout this image
Diagram drawn from this project’s written instructions. Use the instructions for measurements and construction. This is not a finished-project photograph.Knitting
The Sunday washcloth
A soft, useful square in simple garter stitch. A good first project for finding your rhythm.
Before you begin
Materials
- 50 g worsted-weight cotton yarn (about 80 m / 87 yd)
- 4.5 mm knitting needles (US 7), or size needed for gauge
- Tapestry needle
- Scissors and measuring tape
Quick reference
Abbreviations
- K
- Knit: insert the right needle into the front of the next stitch from left to right, wrap yarn counterclockwise, pull a new loop through, and slide the old stitch off.
One step at a time
Step-by-step instructions
- 1
Check your tension
Knit a small sample in garter stitch. Aim for about 18 stitches and 36 rows per 10 cm (4 in). The cloth will still work if your gauge differs; its size will change.
- 2
Cast on 32 stitches
Make a slip knot, then use the knitted cast-on to place 32 stitches on your needle, counting the slip knot as one stitch. Leave a 15 cm (6 in) tail.
Helpful hint · Keep the loops loose enough to slide along the needle.
- 3
Knit the first row
Hold the needle with the stitches in your left hand. Knit every stitch. Count 32 stitches at the end, then turn the work and swap the needles between your hands.
- 4
Build your square
Knit every row until the cloth is as tall as it is wide, about 18 cm (7 in). At the suggested gauge this is about 64 rows, or 32 raised ridges. Count 32 stitches every few rows.
- 5
Bind off gently
Knit two stitches. Lift the first stitch on the right needle over the second and off the needle. Knit one more, then repeat the lift-over until one loop remains. Cut yarn with a 15 cm (6 in) tail and pull the tail through that loop.
- 6
Finish and wash
Weave both tails through several stitches on the back, change direction, and weave a little farther. Trim the ends. Wash according to the yarn label, reshape into a square, and dry flat.
Original starter instructions. Sizes and making times are approximate; check your tension and measurements as you go.
Maker notes
Your shelf
Sign in to save projects across devices and share your making.
Finished projects
No makers have shared a finished version yet.
Questions and notes
No comments yet. You can be the first to share a useful note.